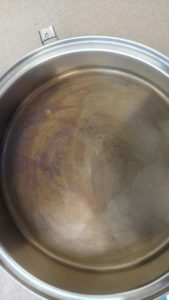
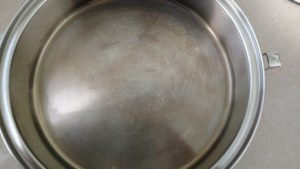
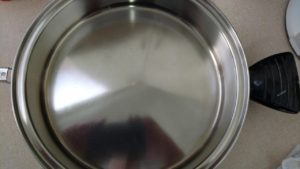
By using “Blue Magic” metal polish we purchased at Farm & Fleet, we used a stainless steel cleaner such as Bar Keeper’s Friend and finished it with Blue Magic polish. We used a scrubbie sponge such as Chore Boy on the rough side and got as much off as possible. Then using a clean soft cotton cloth, we polished it by rubbing it in. Voila! Good as new!
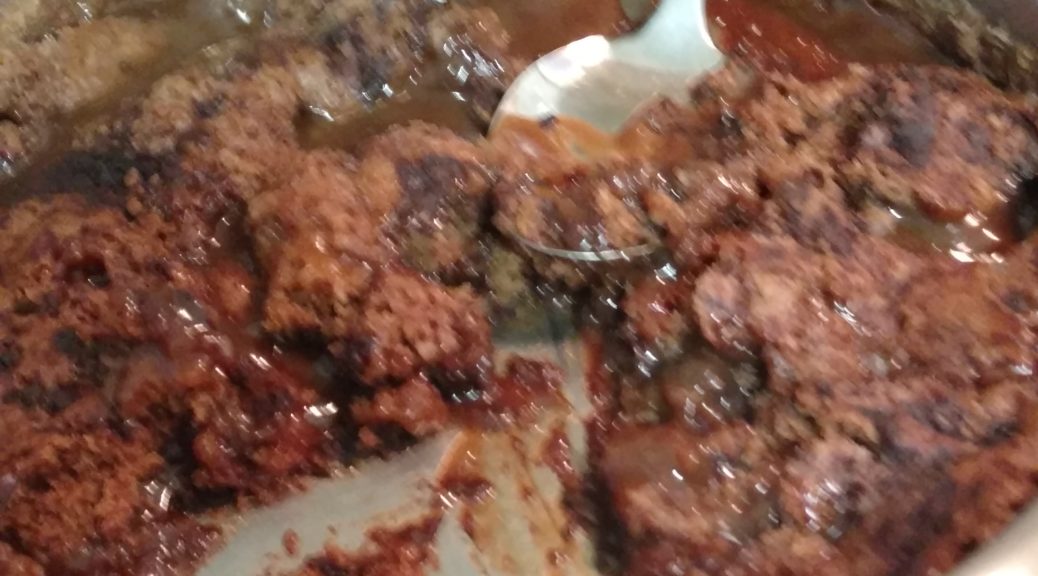
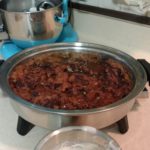
By the way, the bottom picture is a reflection of taking the picture, not more burnt pan!
When you receive your cookware for the first time and take it out of the box, make sure to immerse it in hot soapy water with 1 C white vinegar . Scrub well all over with a sponge. It takes the manufacturing oil off along with the polishing compounds used to make it shiny and new! Once you do this, you will never have to do it again. If you don’t do this and you heat your cookware, it will turn a golden yellow and things will tend to stick to it.
Serve on plate with dollop of whipped cream or vanilla ice cream
Happy Valentine’s Day!
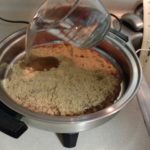
This is a great recipe to serve your loved ones! Delicious! Definitely one of Annie’s favorites and she doesn’t even like chocolate that much! Use the large electric skillet for this one!
Cookware Used
12 ½” Electric Skillet
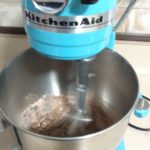
Kitchen Aid mixer
Ingredients
1 C all-purpose flour
¾ C granulated sugar
2 T cocoa powder
2 t baking powder
¼ t salt
½ C milk
2 T vegetable oil
1 t vanilla
1 C chopped nuts, opt.
Directions
Mix above ingredients together & pour into pan. Do not preheat pan.
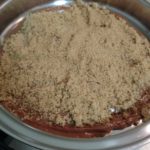
Meanwhile, combine 1 C packed brown sugar and ¼ C cocoa powder and sprinkle over mixture in pan.
Pour 1 ¾ C hottest tap waterover all & turn on electric skillet & bake at 200℉ for 15 minutes.
If using the 11” stovetop skillet, bake on low heat for 20 minutes.
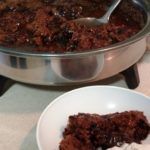
Serve with a dollop of vanilla ice cream!
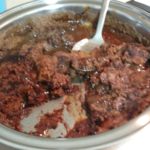
NOTE: This cake is best scooped out of the pan it is baked in & served while warm with a big scoop of vanilla ice cream or whipped cream to help soften the richness of the cake.
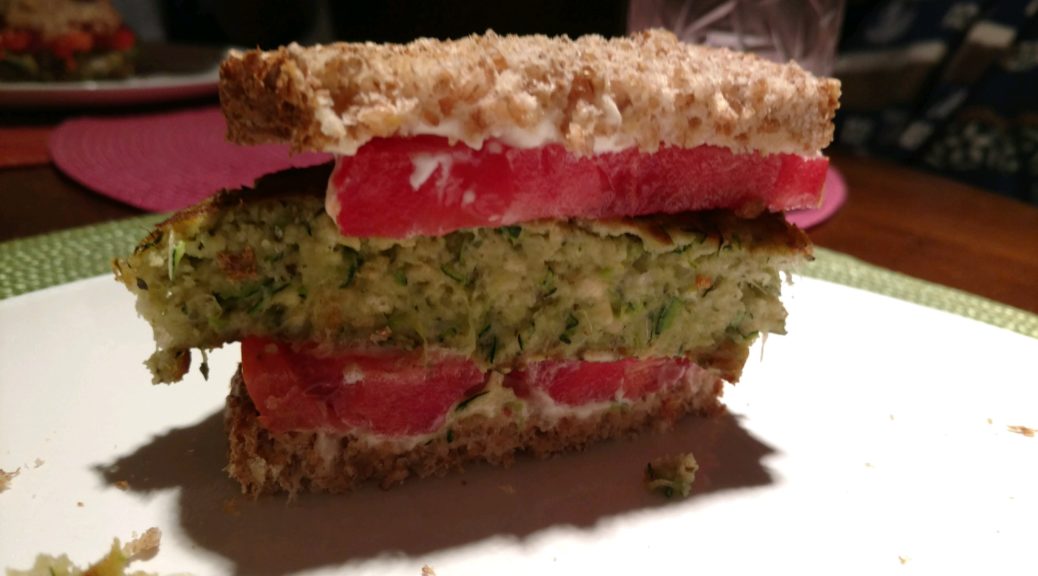
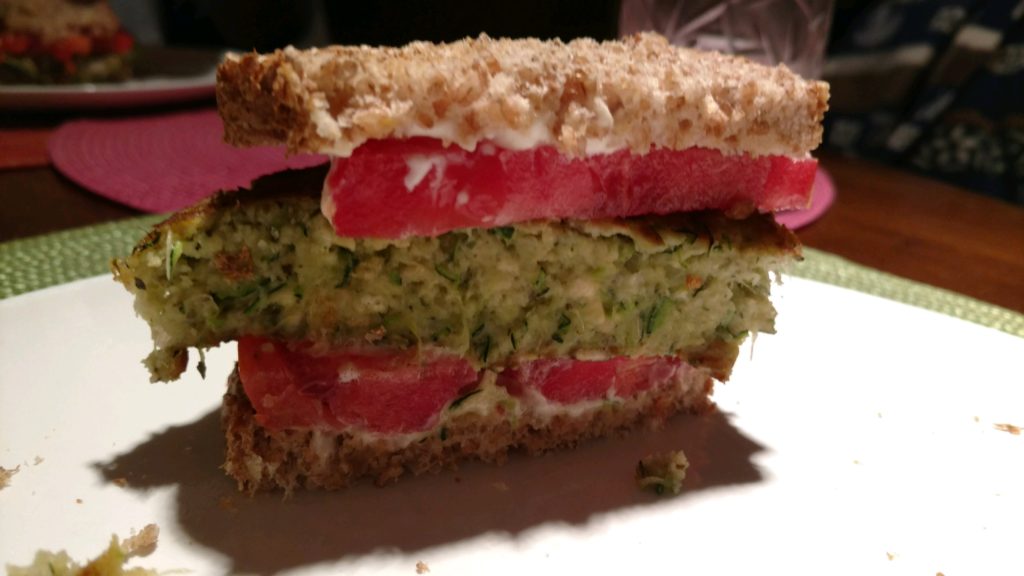
I have an Amish friend who had made these the other day for lunch and they sounded so good! My sister brought me a huge zucchini today so I decided to make these for dinner tonight. I have to say, they are delicious!
Cook the burgers in at least a 10″ gourmet skilletAssemble the sandwich with the burger in the middle.
ZUCCHINI BURGERS
Utensils needed
Lifetime 10″ or 12″ Gourmet Skillet
Lifetime Griddle or electric toaster to toast bread
Stainless steel turner
Ingredients
1/2 C shredded zucchini
1 egg
1/2 small onion, minced
Panko, add until desired consistency.
salt, pepper and garlic to taste
Tomatoes, whole grain toasted bread and mayo to finish off the sandwich.
Directions
Work together and form into desired burger size. On medium heat, preheat 10″ stovetop skillet adding butter to fry the patties. Fry five minutes per side or until golden brown on both sides. Cover and turn to low for 5 more minutes to make sure burger is heated through.
Toast bread, spread a little mayo and add a fresh slice tomato to both pieces, add burger in middle.
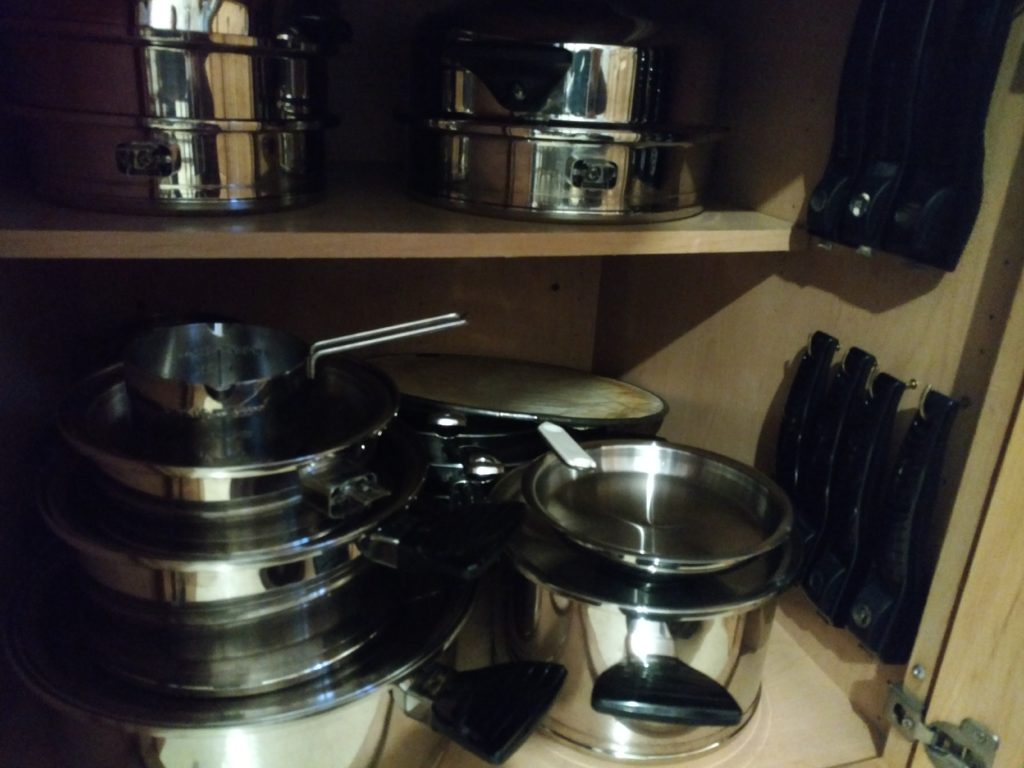
A very clever customer showed me how to organize your new detachable handles keeping them in pristine shape. Thank you , Darryl and Jane G. for letting me share a great idea!
Thank you, Annette, for sharing this recipe! I will be making it this weekend for sure! Can’t wait. My mouth is watering!
Annette
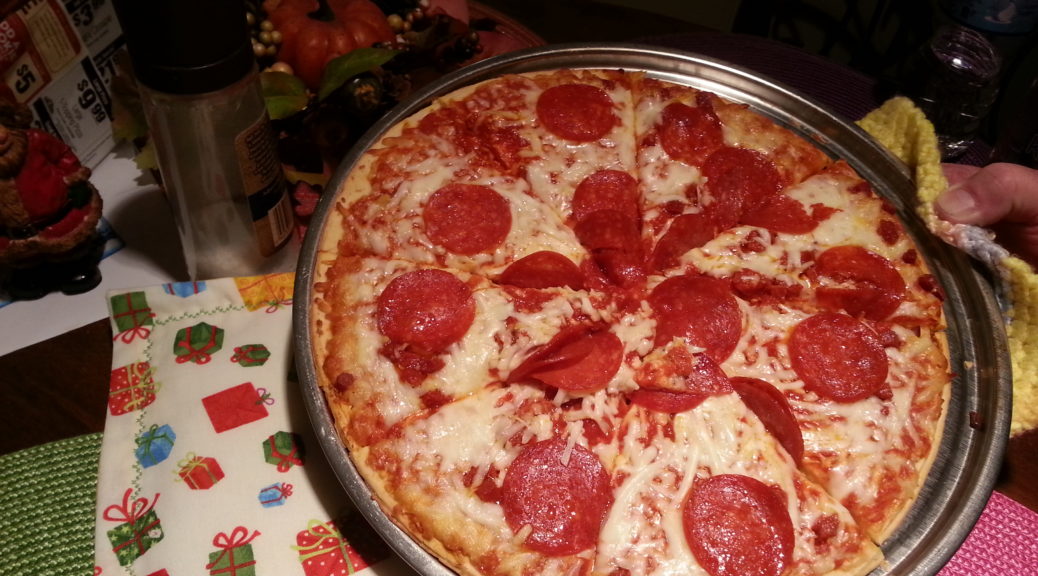
The pleasure is mine. I’m going to share with you at least 2 recipes that I do and are easy and good. The chicken is the only one that might have hispanic products but they are easy to find. I cook low sodium due to hbp and this chicken is the bomb. I will post to you here and you can post it there in your blog. Ive done pizza but regular dough that i make. Count on me with your blog. Inwill start sharing it with my friend in Puerto rico. Have a good night.
Here is my recipe. You have to make it and taste it. Let me know how much you like it.
Here is my chicken recipe. (She calls it Spanish Pollo al caldero. )
Ingredients
-1 whole chicken cut in pieces
– Chicken bouillon*
-6 Spanish olives**
-Sprinkle some of 1 envelope of Sazón Goya***
-1/2 tsp of Oregano
-1/2 tsp of cumin
-Roasted red peppers (pimiento morrón) and some of its juice.
– Onion
-Balsamic vinegar
-Bay leaves
-1 tsp of fresh garlic
– Few leaves of fresh cilantro (optional)
Directions
◦ Cut the chicken into pieces and put it in a bowl with water, white vinegar and some salt. Rub it and rinse it. It is just the take out the greasy feeling from it.
◦ Preheat the skillet at 350. I would add some water or a tsp of olive oil even though while cooking it will release fat and water. So this can be optional. I do it so the chicken wont stick on the skillet.
◦ I don’t seasoned the chicken because of my hbp but once the chicken is in the skillet I add over it the garlic, spread oregano, cumin, some sazon for color and it has salt too so just a bit, but you can use paprika instead, some roasted red peppers and some of its juice, 3 bay leaves, like 6 olives cut in pieces, some onion and 1/2 chicken bouillon. You can add the entire bouillon because for you it might be under salt. Maybe you feel that all the juices where the chicken is cooking will feel salty but since the chicken is not seasoned it will be good.
◦ Let it boil a few minutes, turn over the pieces and add balsamic vinegar as much as you like. I normally add like 1/4 c or less.
◦ Put the lid on and lower the heat to simmer. I even put it a little less than simmer and it has cooked great too.
◦ I haven’t taken the time of cooking. I just let it cook and check like every 30 minutes to see if the water in it hasn’t dried out and turn the chicken over again. And of course taste the juice of the chicken. You will notice that the chicken, when done, will be so tender that the bone will come out without any effort.
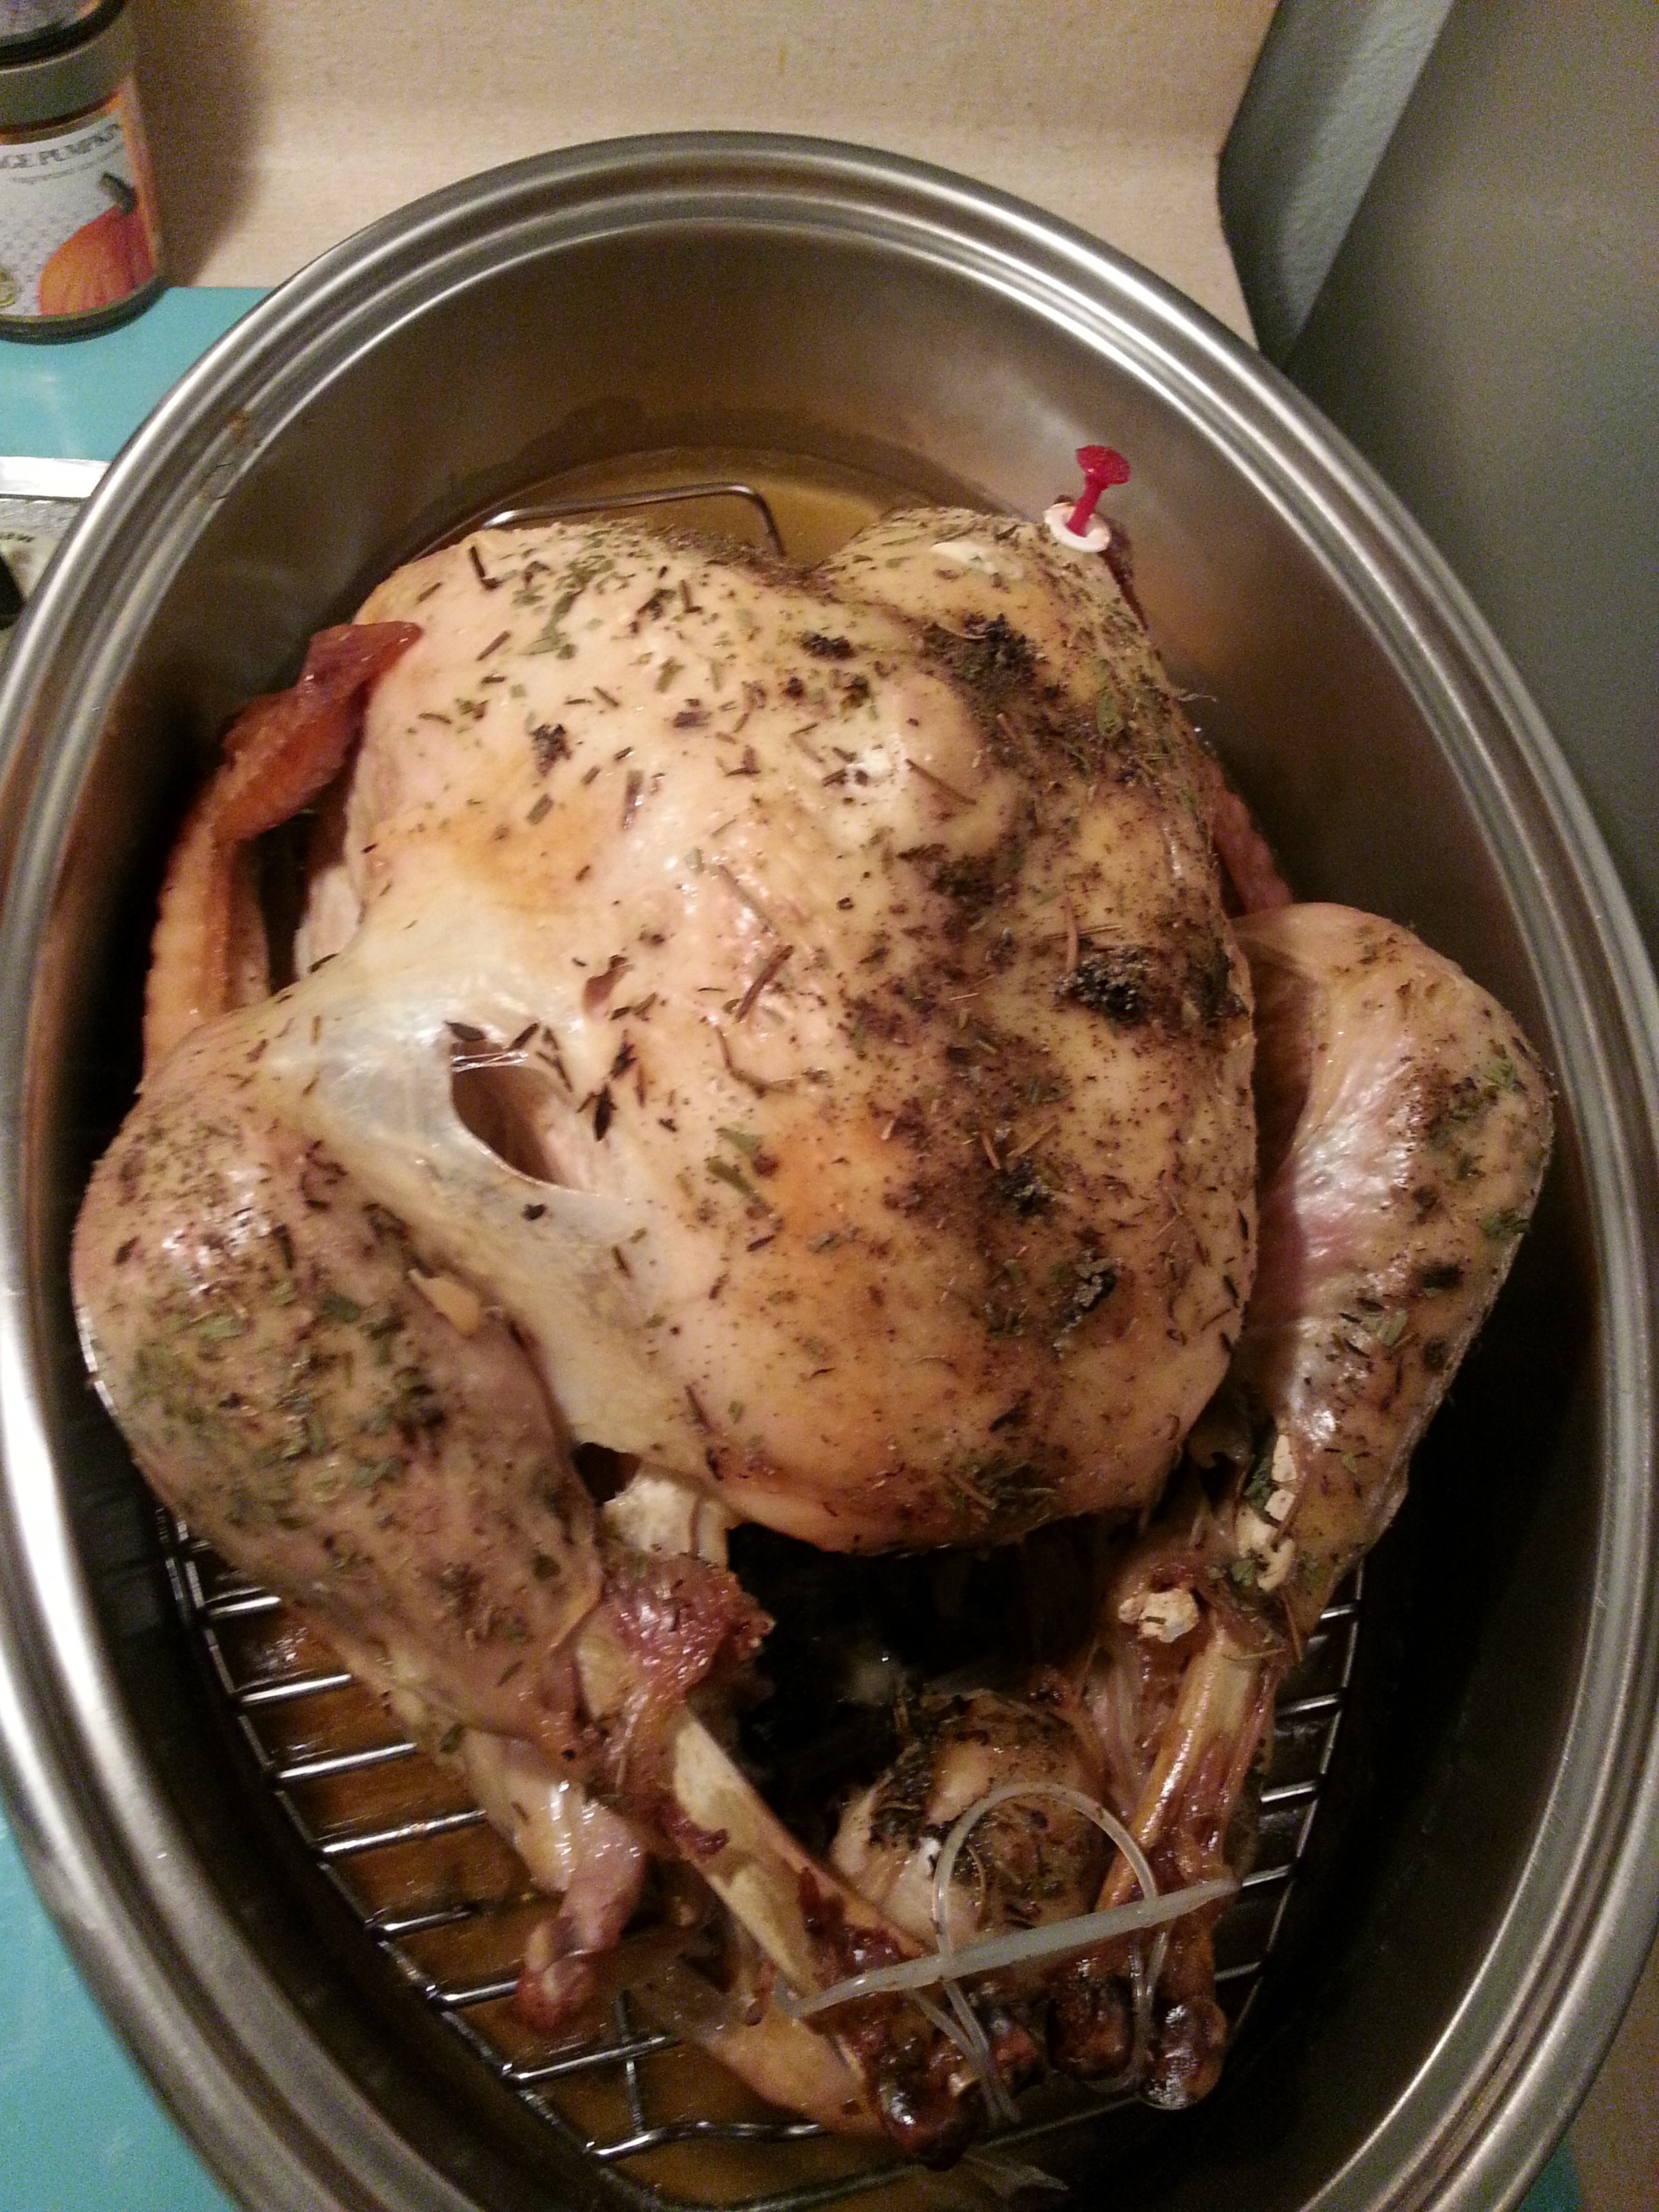
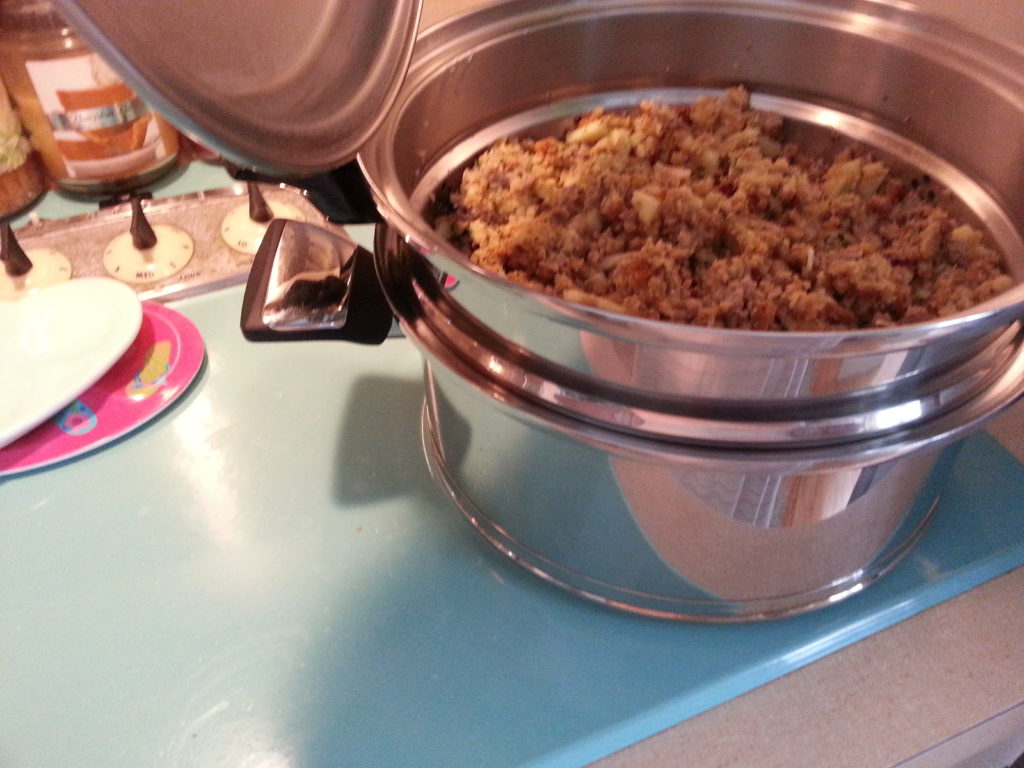
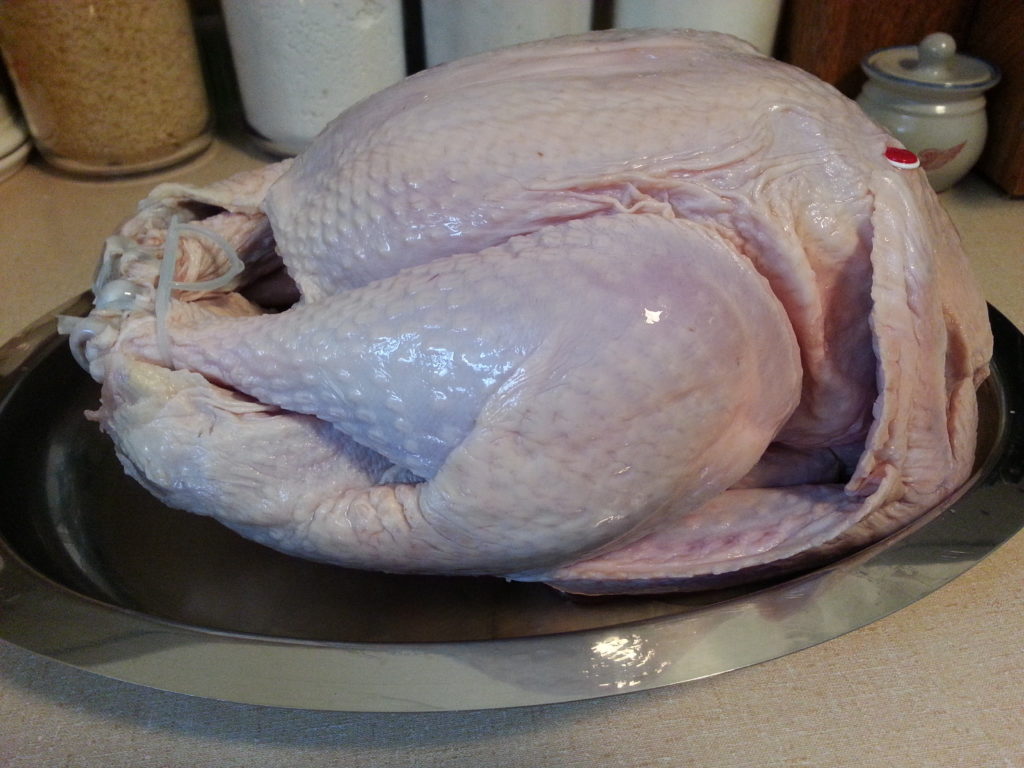
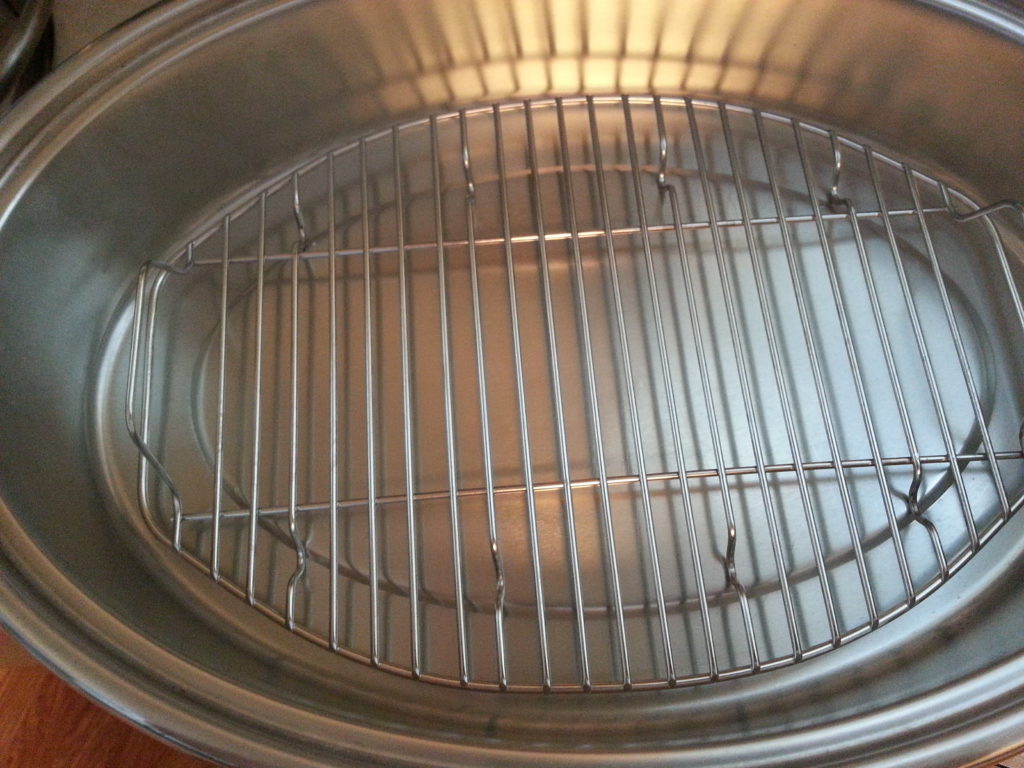
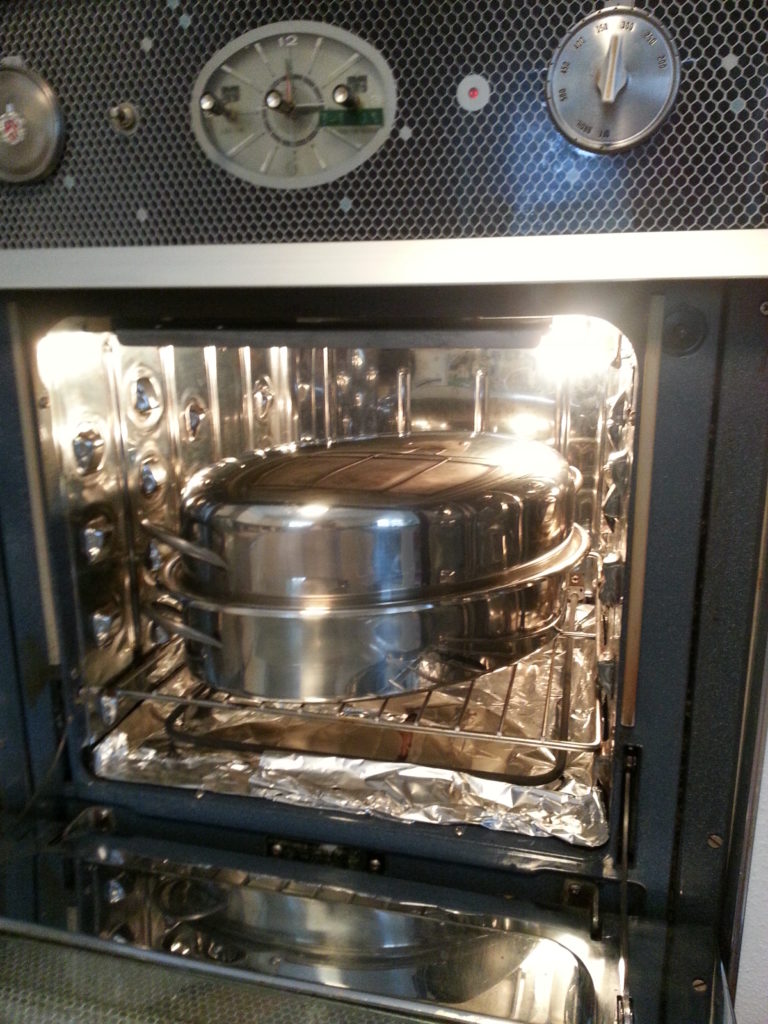
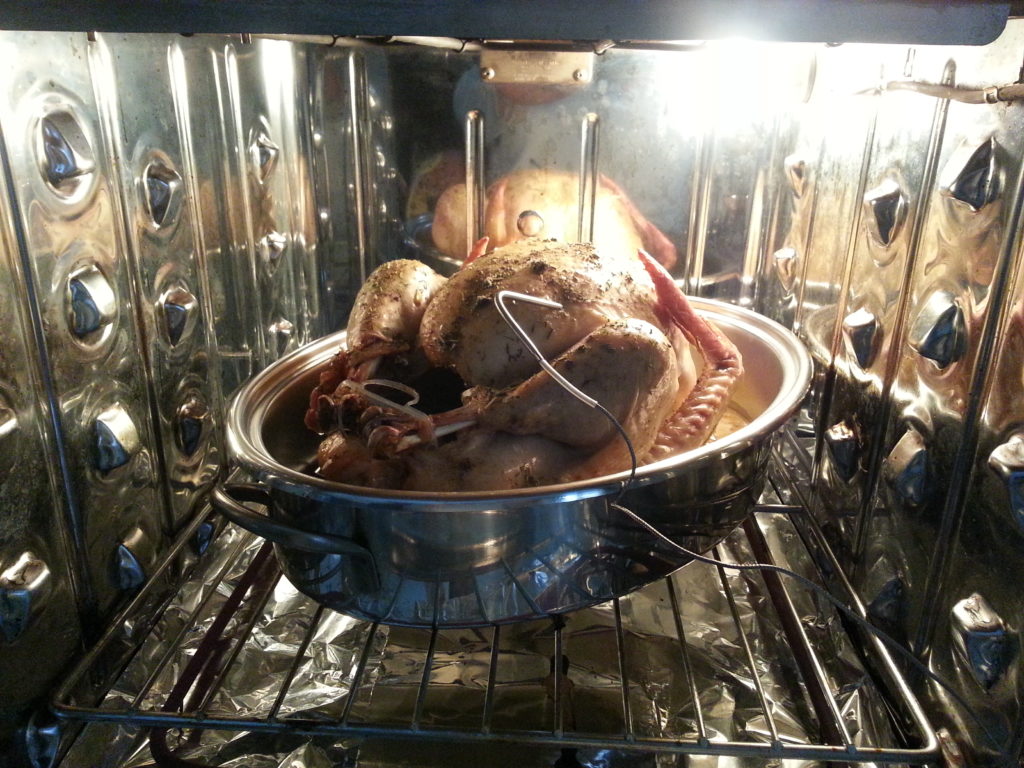
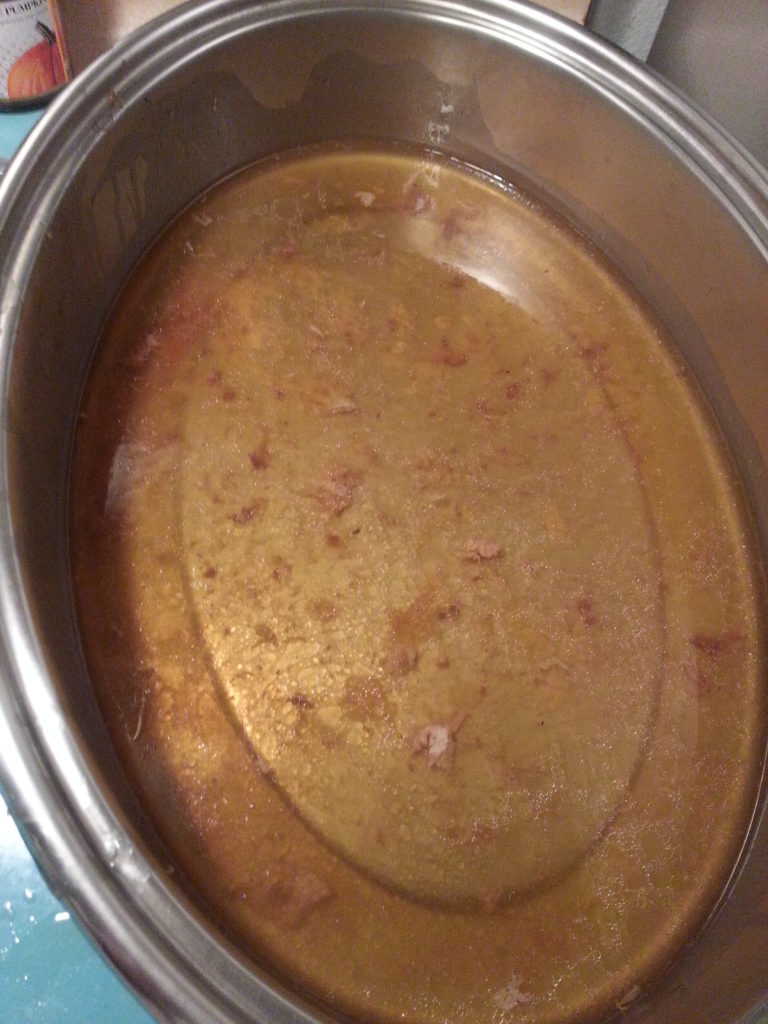
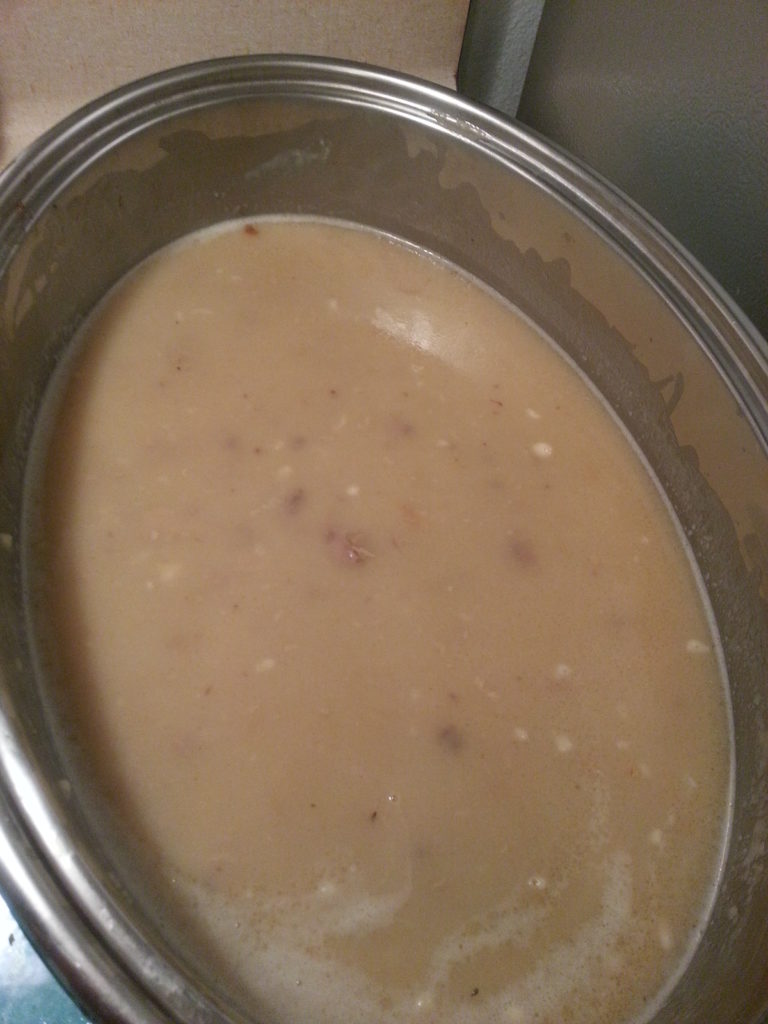
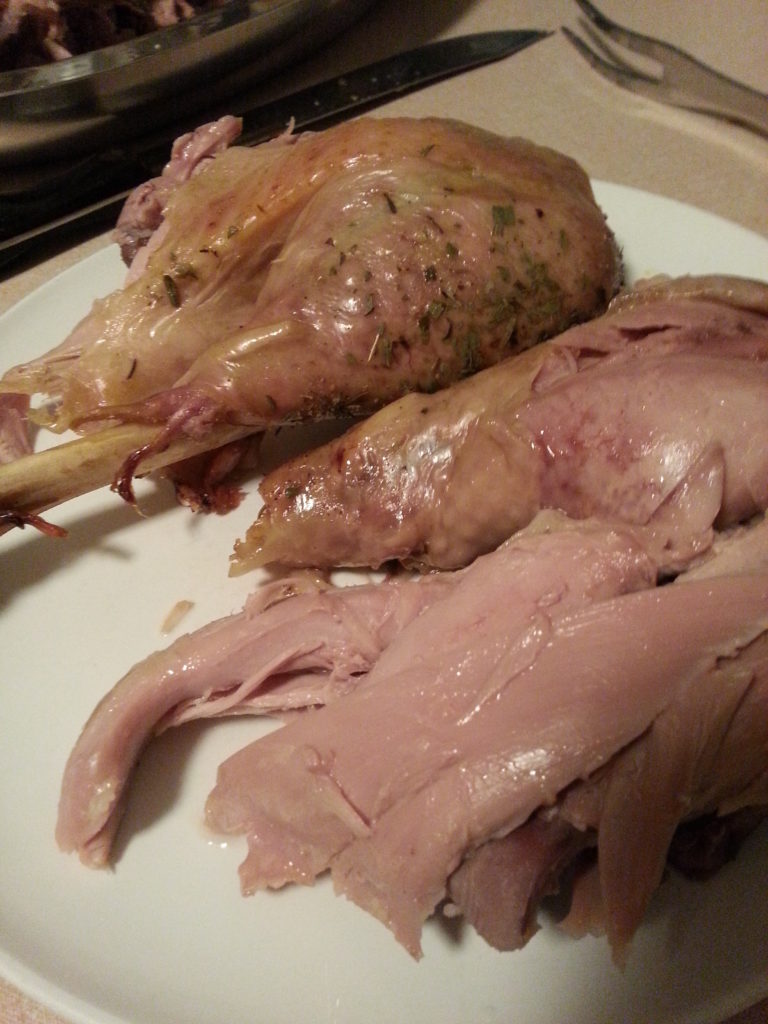
Make dressing in the Lifetime 6 or 8 qt. dutch oven with the 6 qt. steamer basketA beautiful turkey!The Lifetime wire rack keeps it off the bottom of the panCook the turkey for 12 min. a pound, unstuffedTake lid off for last 20 min. of cooking for additional browningLook at those juicesMake the gravy in the pan on top of the stoveNever another dry turkey!
Making turkey on Thanksgiving is so easy when you have the right equipment. I can’t believe that my roaster is older than 30 years and still looks brand new. The first turkey I ever made stayed in the oven for 4 hours longer than it should have. It fell off the bone and I had so much gravy in the pan we couldn’t use it all! I decided to go for a horseback ride on a horse named Pantyhose. She was a great girl, spirited since I hadn’t ridden her all year-up until Thanksgiving Day, when I made my first turkey. I took her out to the cornfield where the wind was howling and blowing and spooking her. I tried to dive off, got my foot stuck in the stirrup and landed hard on the ground. Lucky for me she took off (with my shoe) and I stayed where I was. She ended up at home and John came looking for me. Yep, I broke my collarbone and spent time in the emergency room and got it taken care of. Took awhile since it was a holiday and not many personnel in the emergency room just waiting for disaster to strike! What an experience, but I learned you can’t ruin your dinner if it cooks too long! Loved that horse.
Healthy Grease-Free Cooking! A site for recipes and cooking instructions for your waterless cookware.


 . I will post to you here and you can post it there in your blog. Ive done pizza but regular dough that i make. Count on me with your blog. Inwill start sharing it with my friend in Puerto rico. Have a good night.