Using the 20 quart dutch oven as a deep fryer

Happy St. Patrick’s Day!
Happy St. Patrick’s Day!
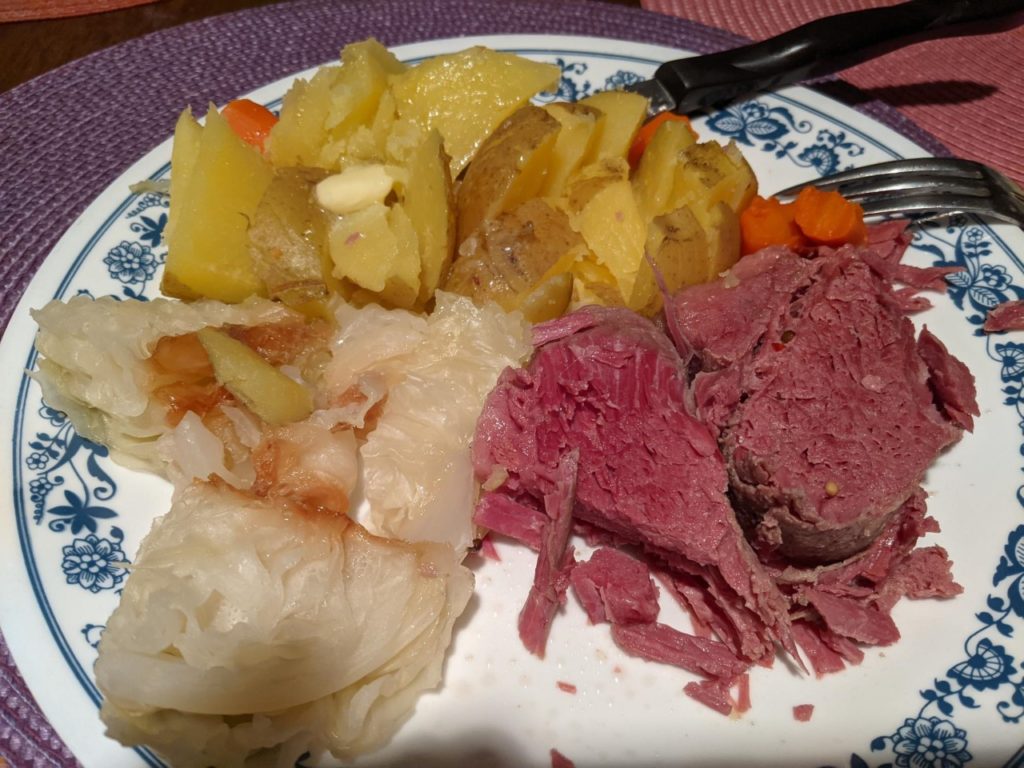
Boiled my corned beef in my 8 qt. dutch oven for 5 hours today. Cooked the cabbage, carrots and potatoes in a pan without water for 45 minutes. Voila! Dinner served! Delicious!

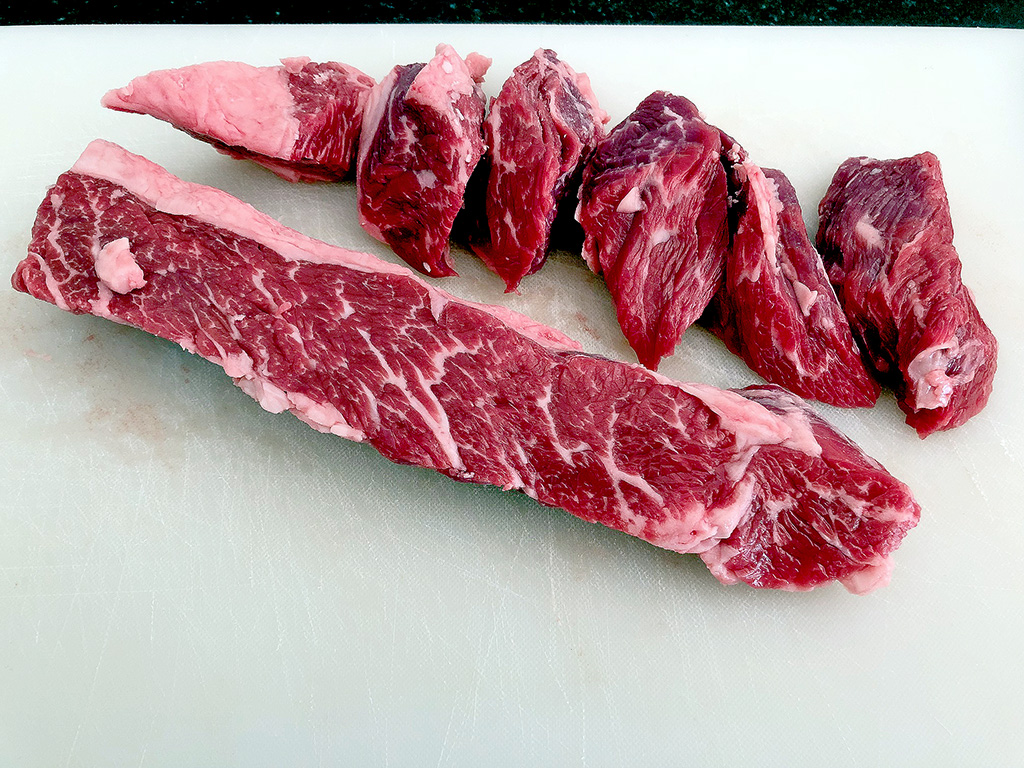
Customer, Pam R. made this delicious beef stew recipe and sent it to me to share. Thank you, Pam!
She explained that she uses steak tips and showed me how she buys them and cuts them up.

She uses her Lifetime Electric 5 qt. Liquid Core Cooker. (For more information on this incredible electric dutch oven, please leave me a message.)
She adds a French Mirepoix (carrots, onions and celery), cut to the same size.


She adds new potatoes and the broth and peas.
Here’s the recipe to enjoy!
Pam’s Incredible Beef Stew
Spice Bag:
3T Flour
½ t Garlic Powder
½ t Salt (table salt, not sea salt)
½ t Black Pepper
Stew Ingredients:
2lbs. Beef Steak Tips, trimmed and chopped (may substitute Sirloin or other tender meat)
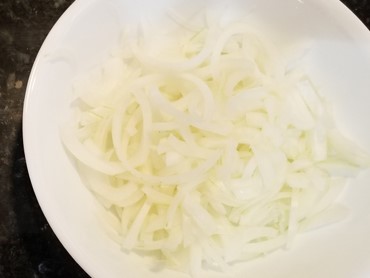
1 Sweet Onion, sliced (Vidalia, etc.)
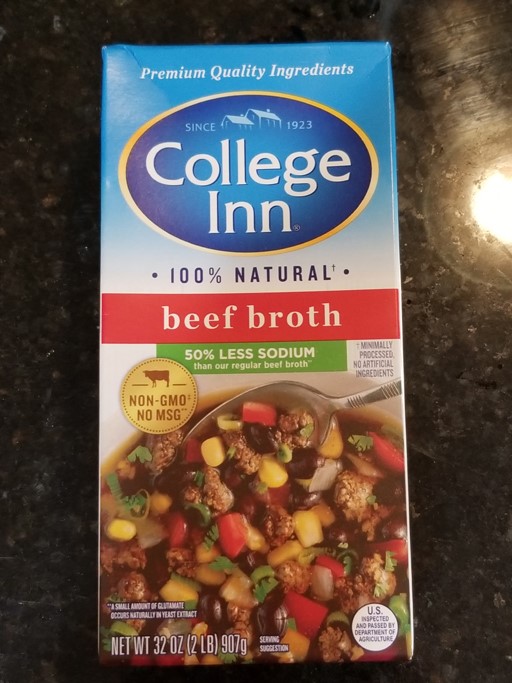
6 C Beef Broth (48oz)
2lbs. Small Red Potatoes (halved)
4-5 Celery Stalks, chopped
4-5 Carrots, chopped (may substitute baby carrots equal to celery)
3oz Tomato Paste (1/2 can)
10oz Bag Peas (approx.)
Thickening Slurry:
2T Cornstarch
2T Water
DIRECTIONS
1. Preheat 5 Qt. Oil Core to 400°
2. Trim and cube/chop beef and slice onion.
3. Thoroughly mix Flour, Garlic Powder, Salt and Pepper in a small bowl with a fork. Place Spice mixture into a gallon sized Ziploc bag.
4. Once pan is preheated, toss onions in and cover. While onions get started, put the beef into the Ziploc bag, seal and mix until spices thoroughly cover the meat.
5. Use tongs to remove meat from bag and add to onions in the 5 Qt (There will be left over mix in bag which may be discarded). Cook meat and onions until browned.
6. Once meat is browned, add in beef broth.
7. Stir in Potatoes, Celery, Carrots and Tomato Paste.
6. Once meat is browned, add in beef broth.
7. Stir in Potatoes, Celery, Carrots and Tomato Paste.
8. Cover and Reduce heat to simmer. Simmer approximately 90 minutes or until beef is tender. Remove peas from freezer, place bag on counter to thaw during simmer time.
9. Once beef is tender, make the thickening slurry. Mix equal parts water and corn starch. (2T of each works perfectly in this recipe). Whisk until it is completely blended.
10. Add thickening slurry (SLOWLY) to stew while it is still simmering. Use all of it. Stir as it thickens.
11. Add Peas to thickened stew and allow to simmer about another 10 minutes.
12. Season as you like. A garlic-sea salt grinder mix is delicious!
A wonderfully talented customer named Trish S. , who states she bakes cookies for friends and family, sent me some yummy pictures of her creations. She received her cookie sheets on Tuesday and sent these pictures by Thursday morning. She got right down to business! She really should do this for a living, don’t you agree?!


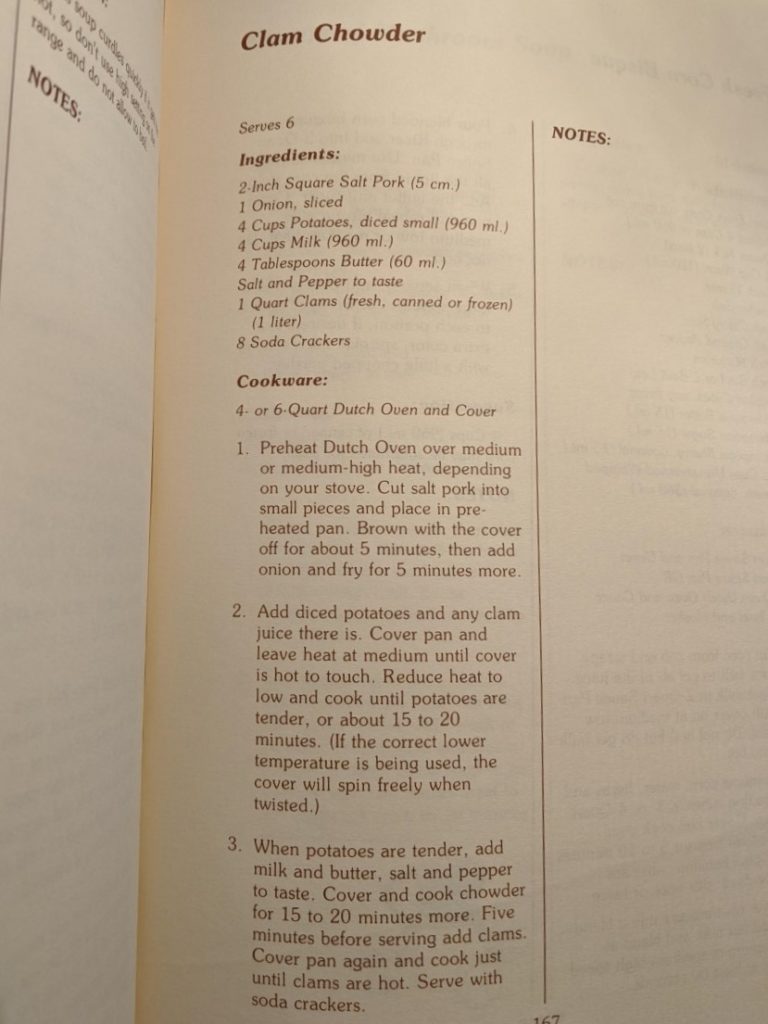
Evelyn Radcliffe, according to a note on her cookbook sleeve, lives in California near Stanford University. She has travelled to test foods in Europe and beyond. This recipe is taken from The Lifetime Cookbook published 1978. Enjoy.
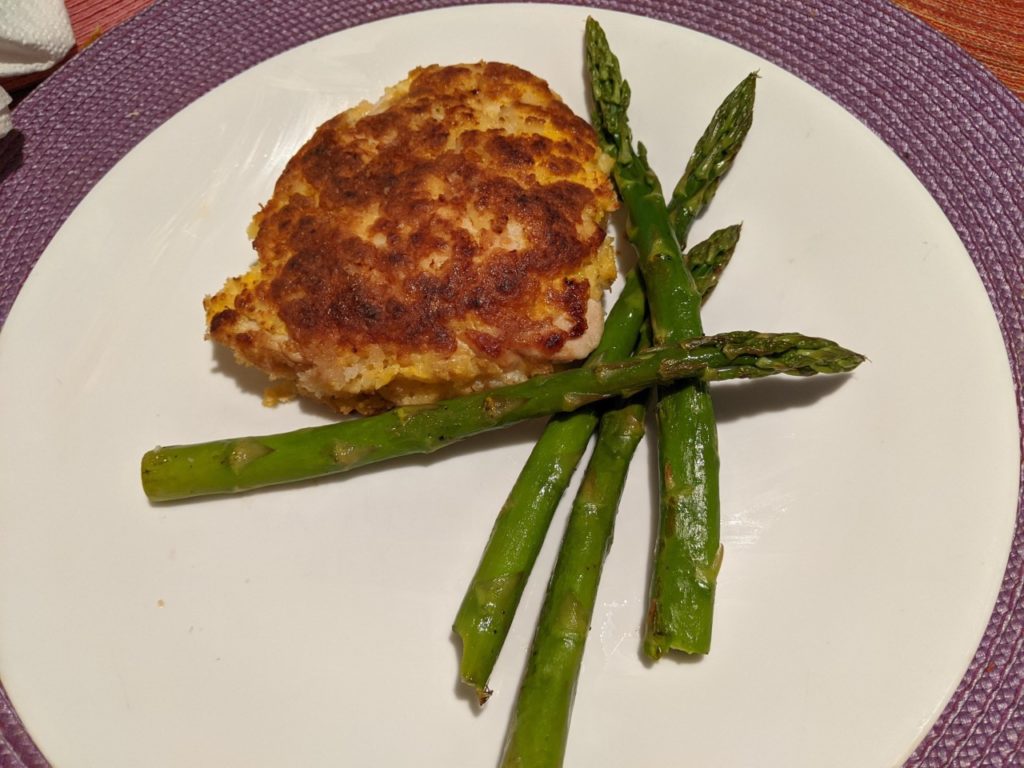
I was wondering how it would work if I wanted breading on our chicken breast for dinner and if I could do it in the pan instead of the oven without grease. The oven takes alot of energy, makes my kitchen hot and takes too long! For those of you who love breading on your food but are looking for ways to cut back on the grease, this might be for you! It was delicious! Here’s how I did it.
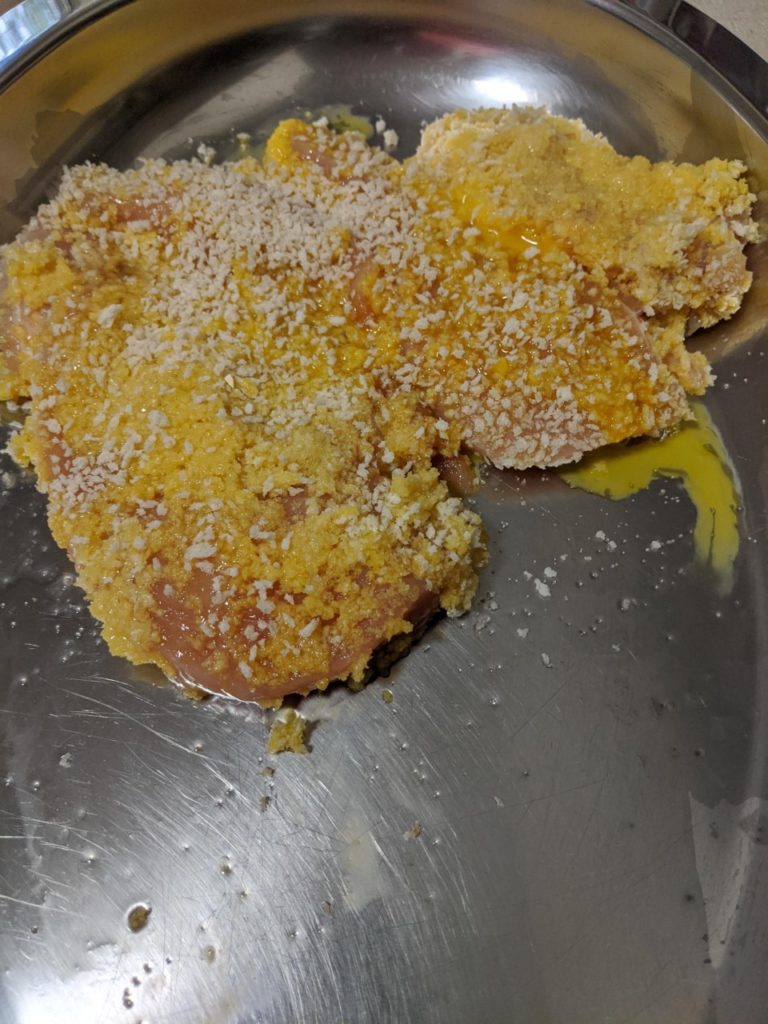
I dipped the raw chicken in Panko crumbs, then the beaten egg, back into the Panko crumbs. I added some Garlic Salt for flavor while I was at it.
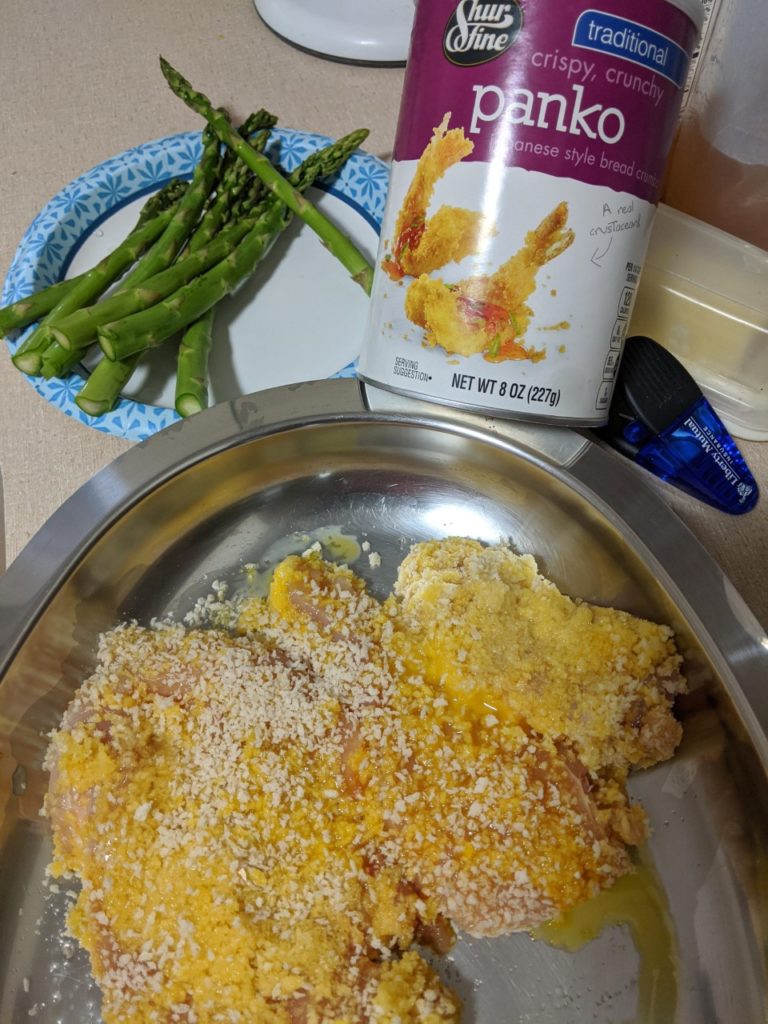
I decided to cook asparagus with it to add color and because it’s yummy and healthy too!
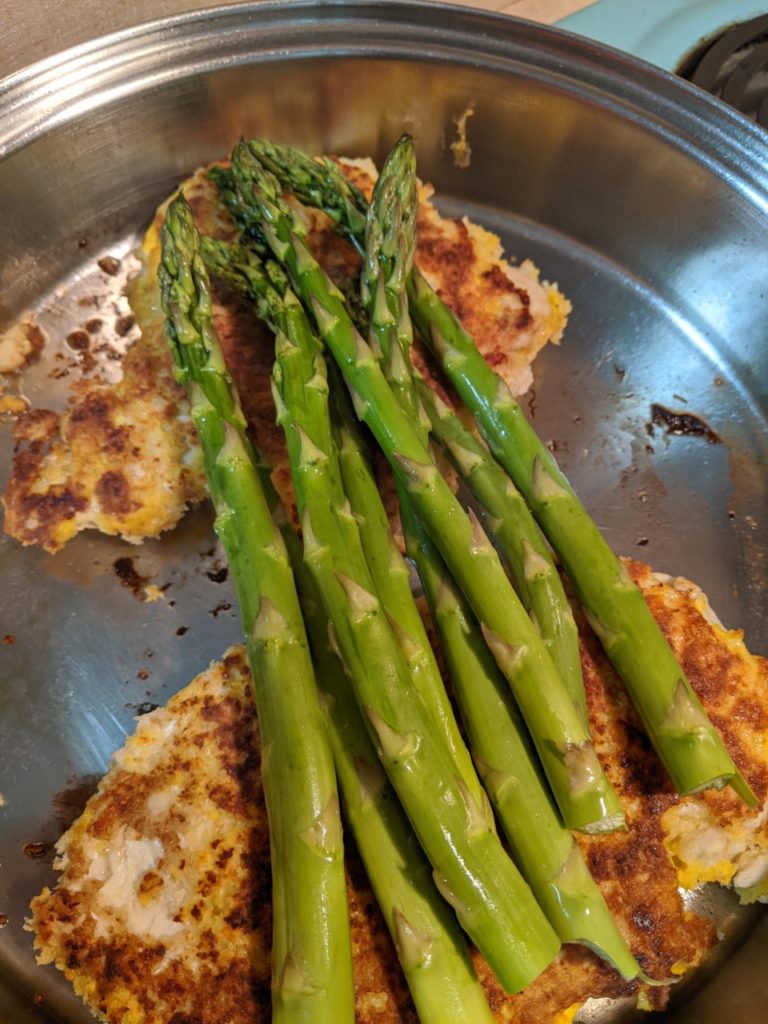
I used my Lifetime Cookware 11″ Stovetop Skillet with lid cocked to the side while it cooked. However, I preheated my covered pan on medium and then sprayed it with “PAM” once it was hot. Since I added the egg and breading, I used “PAM.”
I flipped the chicken breast over after 6 minutes and laid the asparagus on top of the chicken. I cooked it an additional 6-7 minutes on the second side. Notice how evenly the chicken has browned on its first side.

My chicken cooked through thoroughly and evenly. It stayed juicy and did not dry out.
My husband loved it! Now I know I can make breaded meats on top of the stove, without oil in my skillet and enjoy a beautifully breaded, crispy piece of meat.
Ingredients you will need:
2 eggs
1 C Panko breading
2 Boneless Chicken Breasts
Garlic Salt to taste
11″ Lifetime Cookware Stovetop Skillet with lid
PAM Spray
It just doesn’t get any easier than that.!
Sean McDonald April 27 at 8:06 PM

They ran to the groceries, they filled up their carts,
They emptied the Tops and Price Chopper and Walmart,
They panicked and fought and then panicked some more,
Then they rushed to their homes and they locked all the doors.
The food will be gone! The milk eggs and cheese!
The yogurt! The apples! The green beans and peas!
The stores have run out, now what will we do?
They’ll be starving and looting and nothing to do!
Then they paused, and they listened a moment or two.
And they did hear a sound, rising over the fear,
It started out far, then began to grow near.
But this sound wasn’t sad, nor was it new,
The farms were still doing what farms always do.
The food was still coming, though they’d emptied the shelves,
The farms kept it coming, though they struggled themselves,
Though the cities had forgotten from where their food came,
The farms made them food every day, just the same.
Through weather and critics and markets that fall,
The farms kept on farming in spite of it all.
They farmed without thank yous.
They farmed without praise.
They farmed on the hottest and coldest of days.
They’d bought all the food, yet the next day came more,
And the people thought of something they hadn’t before.
Maybe food, they thought, doesn’t come from a store.
Maybe farmers, perhaps, mean a little more
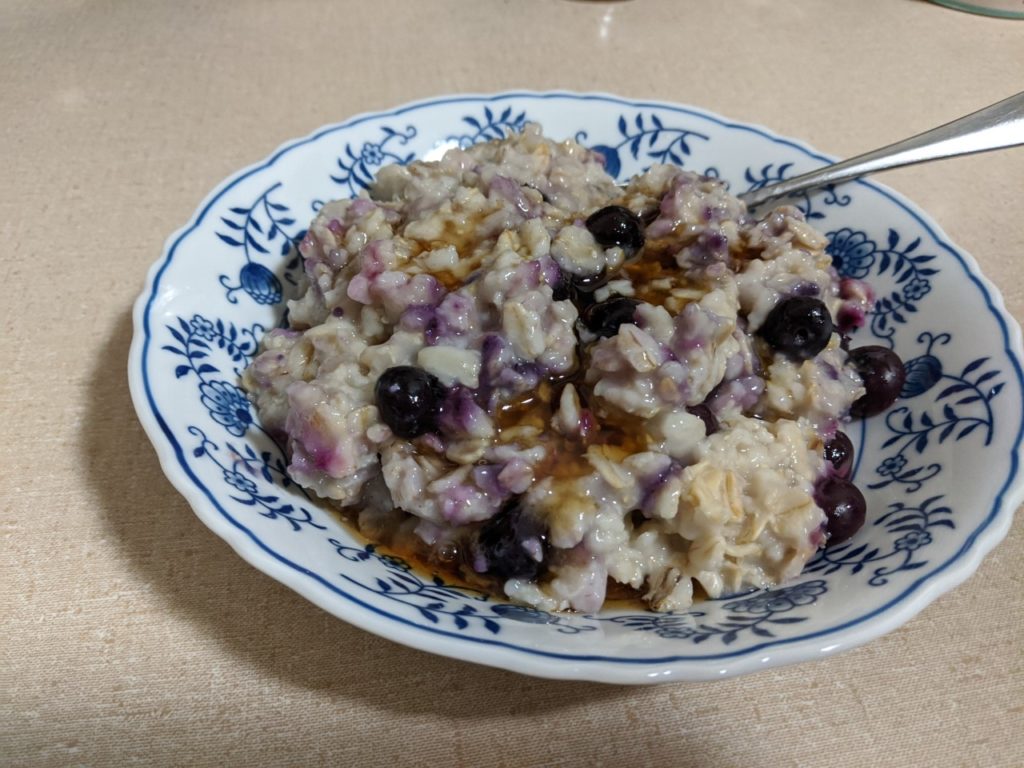
And, of course, Amish Organic Maple Syrup from Wisconsin; one of many pleasures in life…
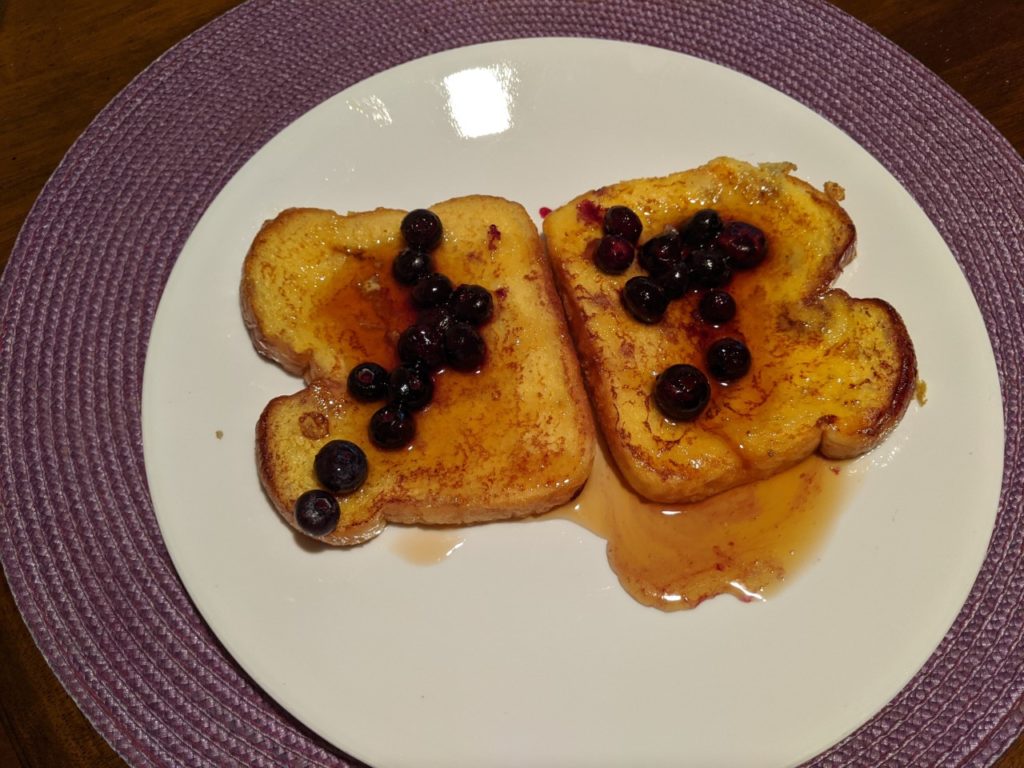
I even cooked the frozen blueberries right along with it! I used the Lifetime Square Griddle this morning. Now here’s how I cleaned the griddle afterwards. So simple!
You know what a mess blueberries can make, right? I cooked them right along with the french toast to warm them up since we always keep some in the freezer.
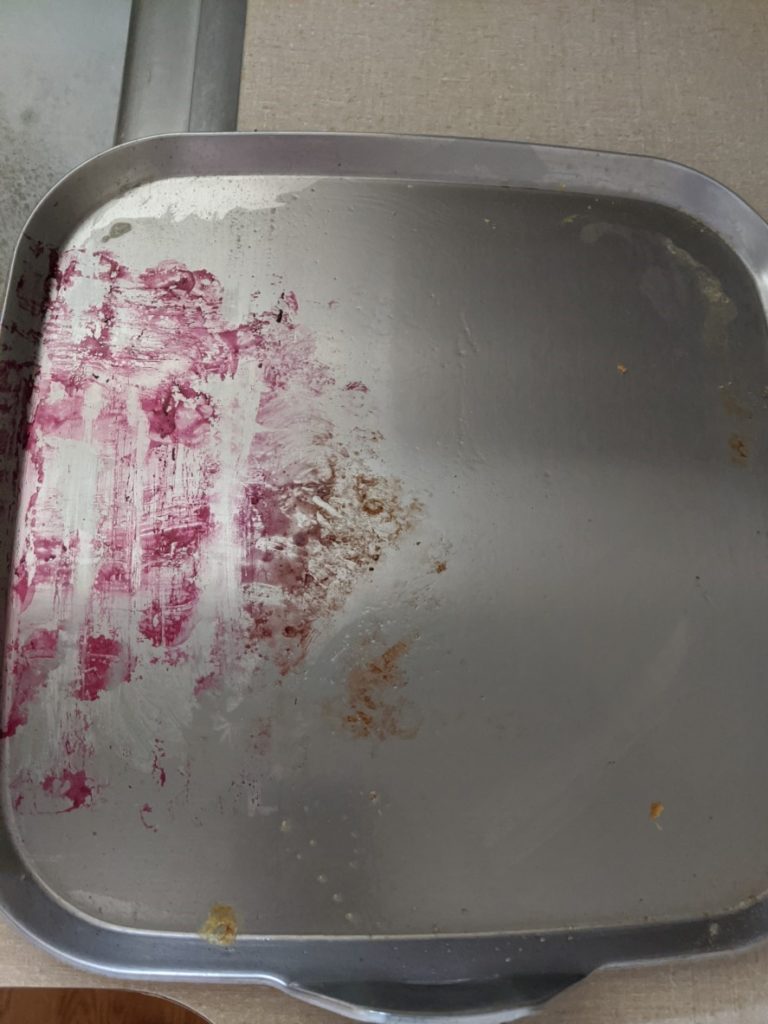
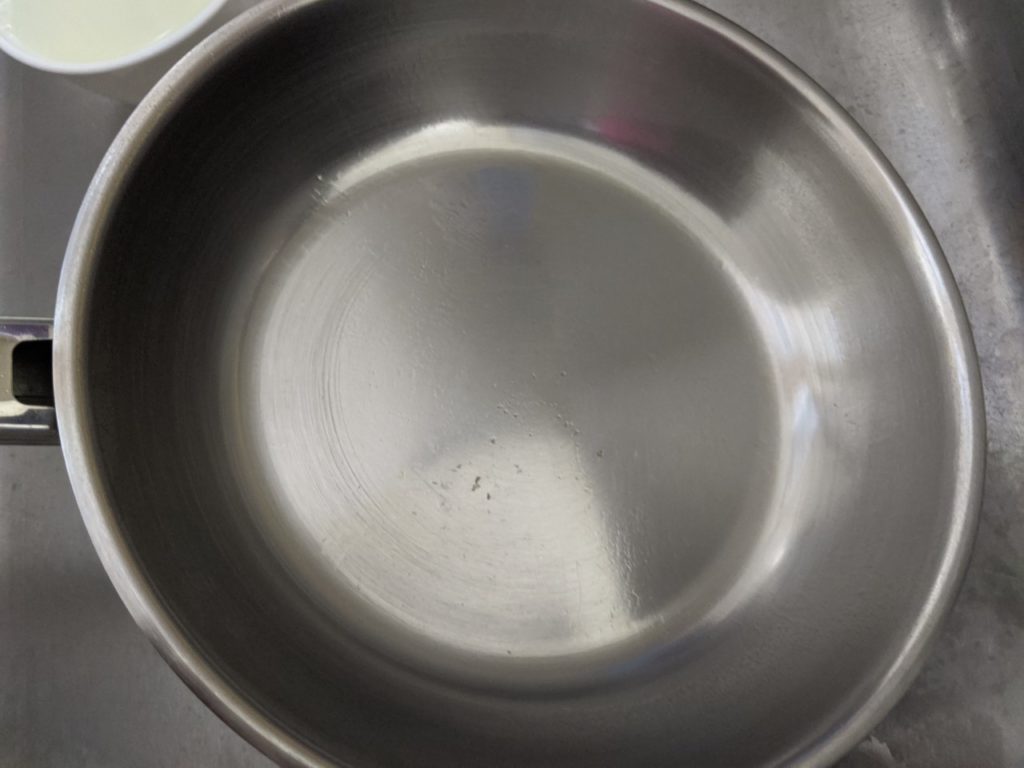
Cool the griddle before washing. Dunk the griddle in the water and then use a Chore Boy to swish over the pan quickly. You can buy Chore Boys in the grocery stores and at big box retailers. You will find it cleans up easily.

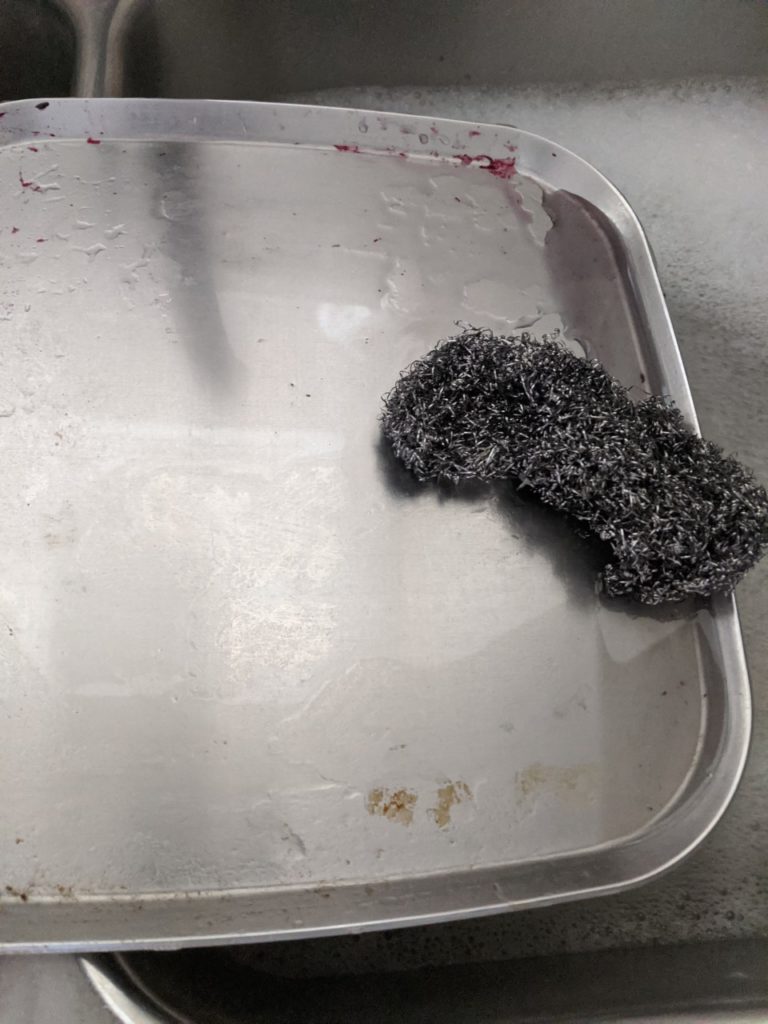
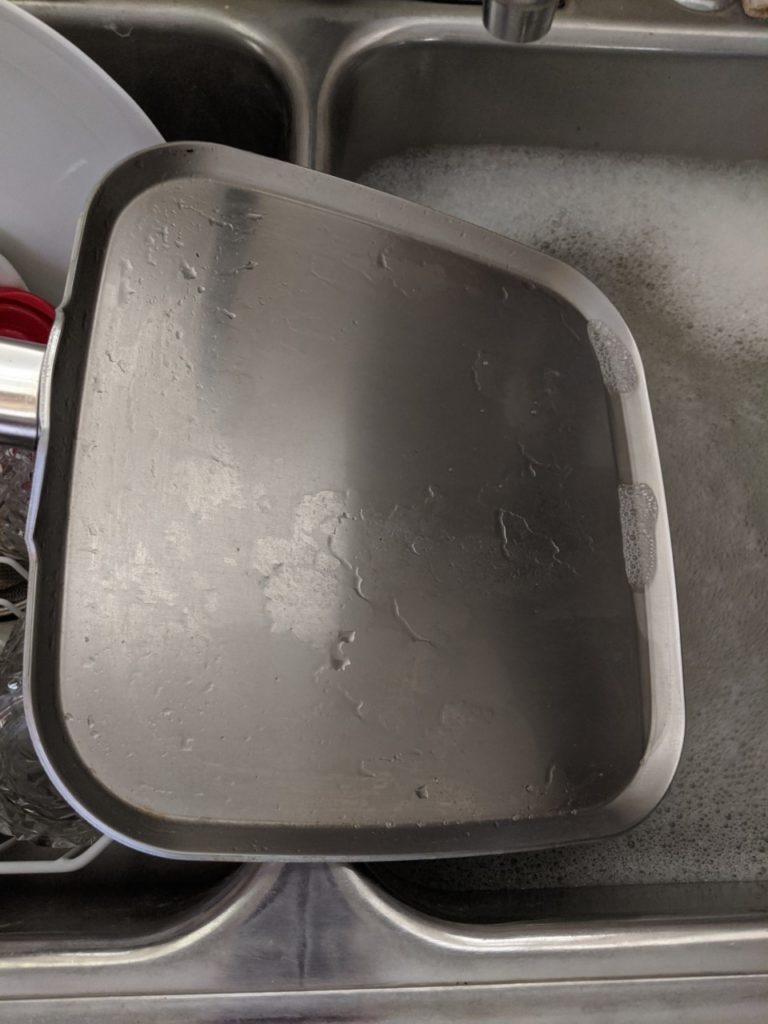
After this I used some Steel Glo which you can go online and buy from www.faultlessbrands.com or use Barkeepers’ Friend from the grocery. Make sure it is a gritty texture, not the liquid variety.
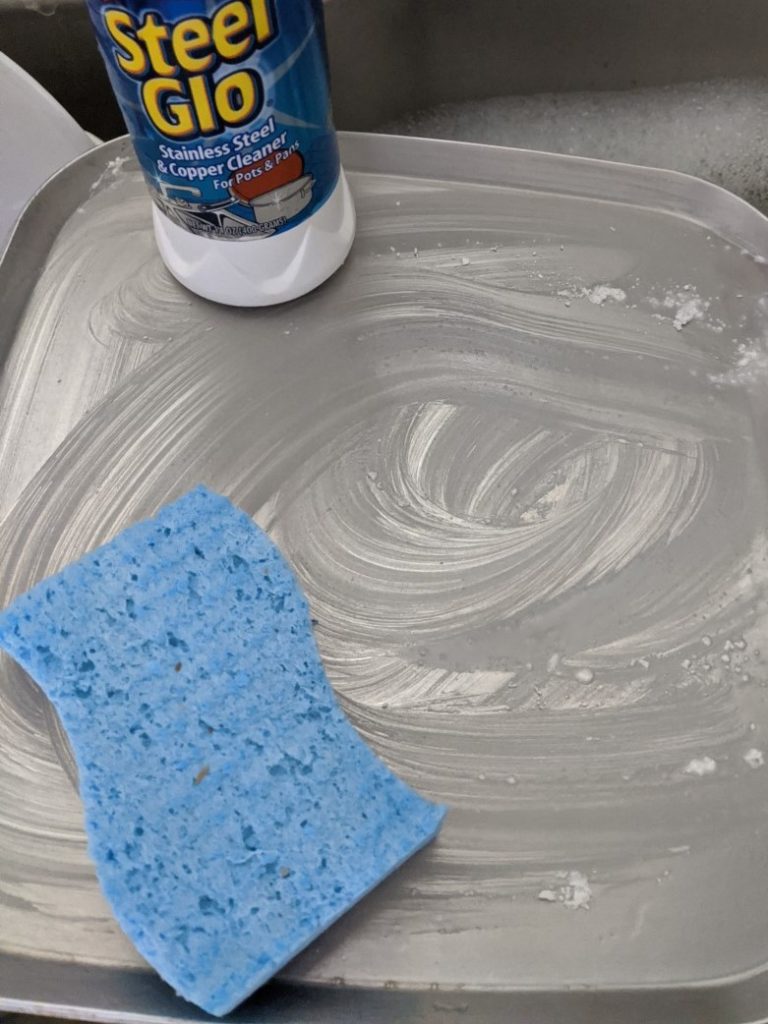
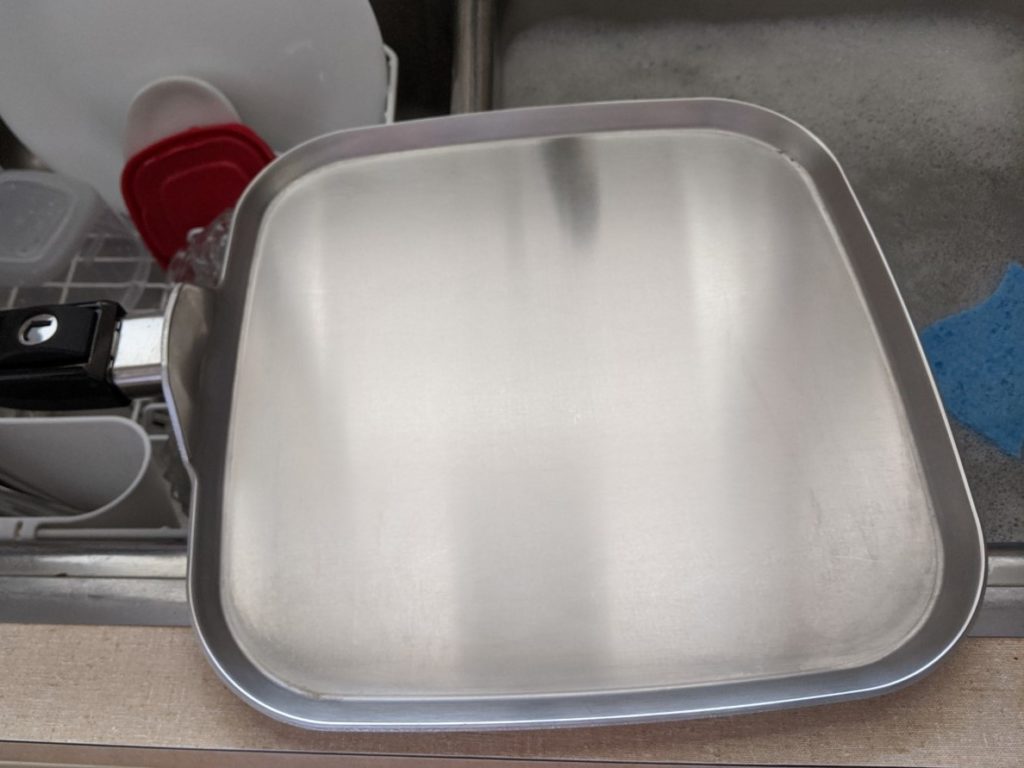
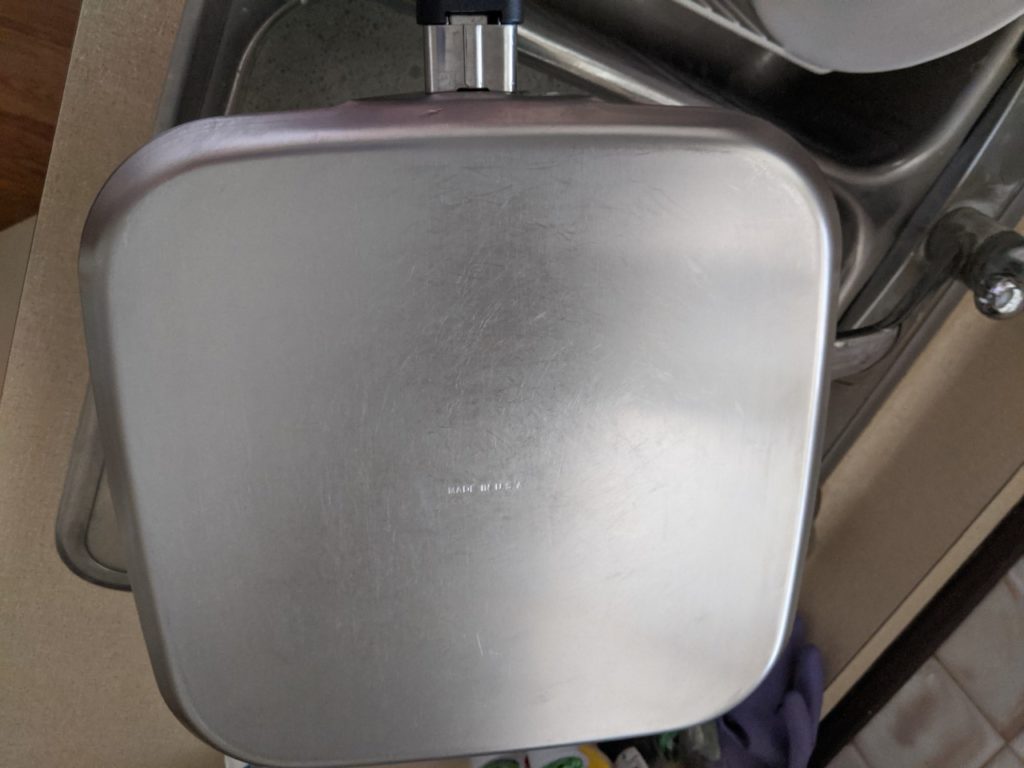
Always make sure you dunk your pan back in to the wash water afterwards to the grit doesn’t linger on the pan. It will shine! By the way, this pan is 36 years old. I’ve just changed the handle to make it detachable!
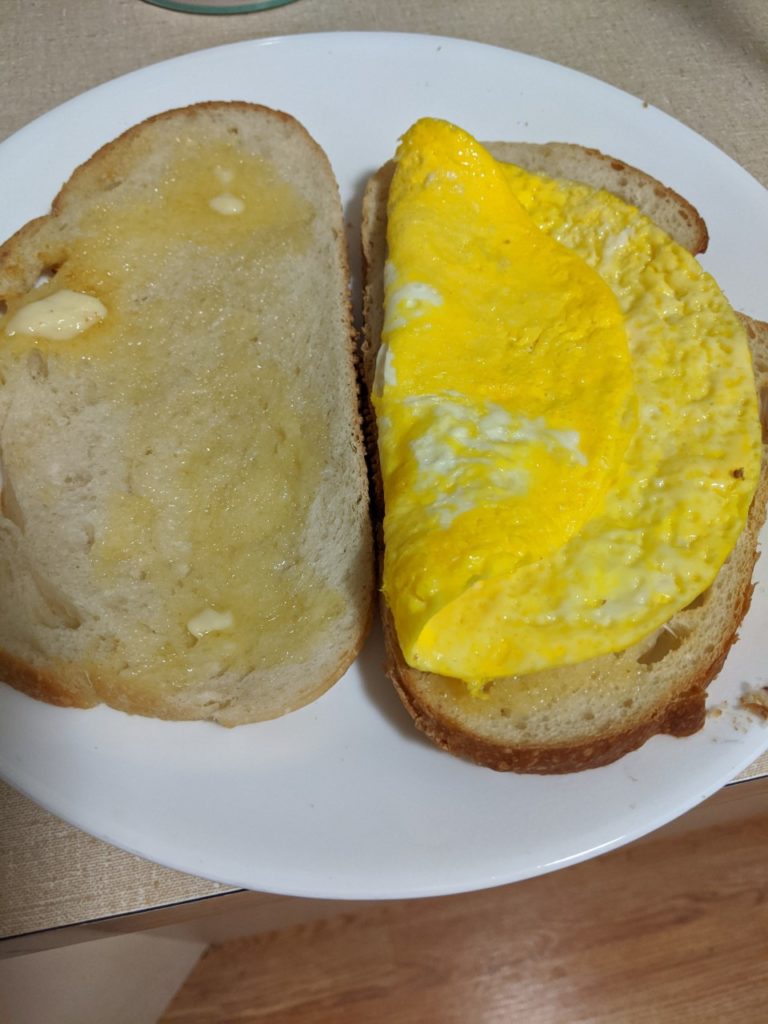
mmm, egg sandwich on sour dough buttered toast!
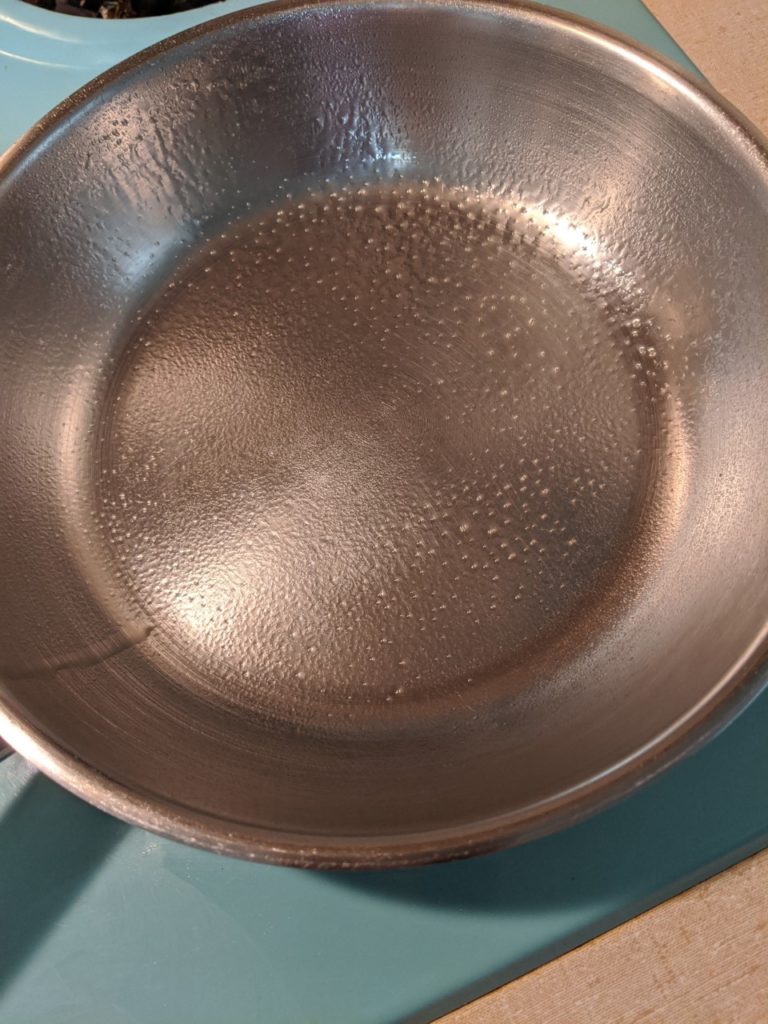
I used my Lifetime 8″ gourmet skillet because I was only cooking 2 eggs. I have an electric stove so I started on a medium setting and left it there until the PAM spray I used started to “run”.
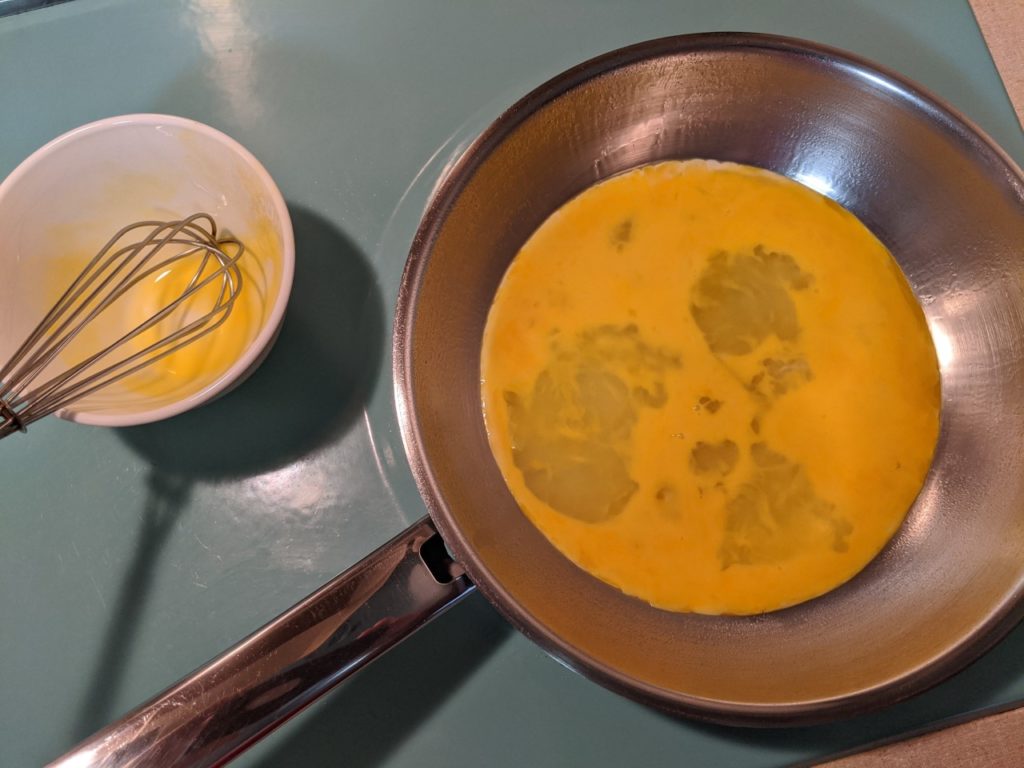
I whipped up 2 eggs slightly and poured them into the heated skillet, still on medium. I don’t stir it, I just wait for it to set.


When the egg is cooked on one side (don’t rush it) you can either use a spatula or “flip” it without one. This is what it will look like on the cooked side. Give it another 1/2 minute which should be enough time to cook the second side.
This is how the pan will look after you flip the egg out on to the plate. See? You don’t have to have a non-stick pan when your Lifetime pan is made well enough not to stick! Better yet, nothing to scrape off the pan! The Lifetime Cookware brand is a long lasting forever set of pans!
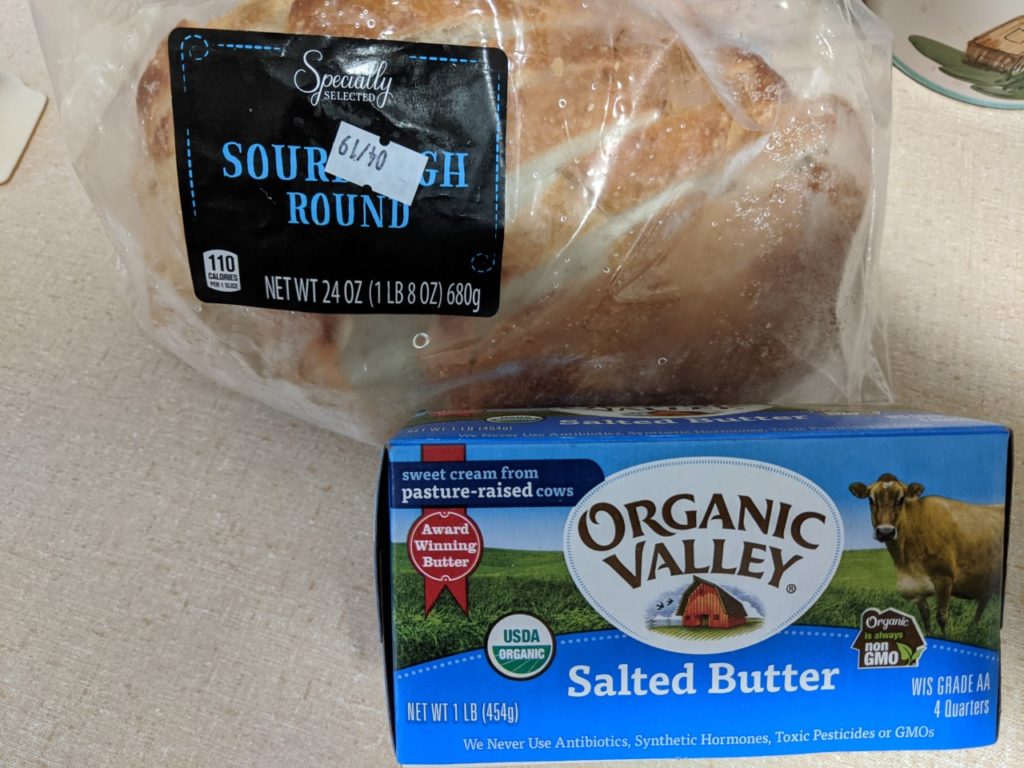
I love sour dough bread from Aldi’s and some good old fashioned Organic Valley Salted Butter I had on hand to butter the bread with!

Now I’m ready after toasting and buttering the bread to make the sandwich.
Time to eat! If you have questions on making eggs, let me know…but right now it’s time for breakfast!